
Adding Contacts To A Membership
If contacts will join your membership on their own, you can follow the steps in either the Free Memberships or Paid Memberships section.
You can, however, add contacts to your memberships manually by:
Adding A New Individual Contact
Add The Contact
To manually add a contact, click on '+ Add Contact' inside your CRM. The system will ask for the user's Name and Email. Enter and save, and the user's profile will be created.

Make Contact A Member
If the contact you added is a new contact that is not in any other memberships yet, click on the 'Action' drop-down menu and select 'Make Website Member'. Then select the membership and save.
Then follow the 'Password Reset' instructions described below.

Password Reset
Once the contact has been added as a member, the 'Member Info' block will appear where you can now select 'Reset Password'. This will trigger a password reset email to the user so that they can set their new password in order to log into the membership.

Adding An Existing Member To A Membership
If the contact is already a member in another membership, go to 'Groups' >> 'Manage Groups', and then select the membership you want to add the contact to.

In this case, you do not need to do a password reset as the user is already an existing member of your website with login details.
Adding A Contact List
Create And Format Your List
When adding a contact list for members, you need to use the following formatting in your spreadsheet for the .csv file.

Name - This column is first name and last name in one
Email
Phone Number
Create Member - This column needs to contain only the letter 'y' to tell the system 'Yes'
MembersGroup - This will be the name of the membership group you created, and the spelling must be exactly the same as in your Stacklii system
MemberPassword - This can be anything you choose and will be the password that the system will create for that user. You will have to notify the contact of this password, as the system will not send a notification.
The names in row 1 and the order of the columns should stay as they are in this example.
You can also add more columns if needed.
Template
Here is a template file you can use for this.
Importing The List
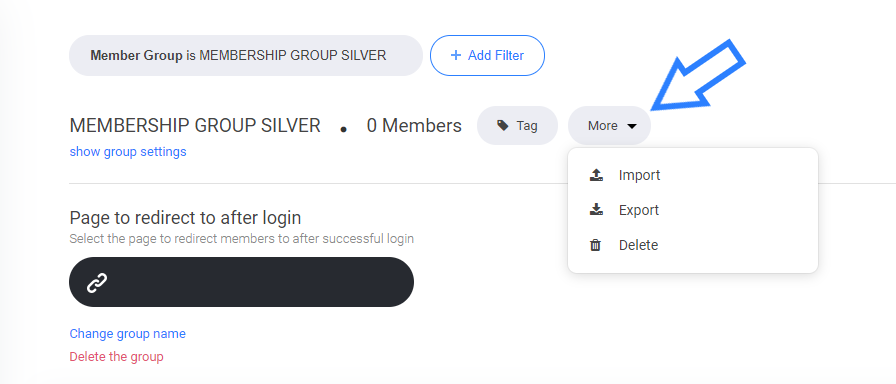
Once your list is ready, you can now import it into Stacklii. Go to your CRM and select import from the more tab.
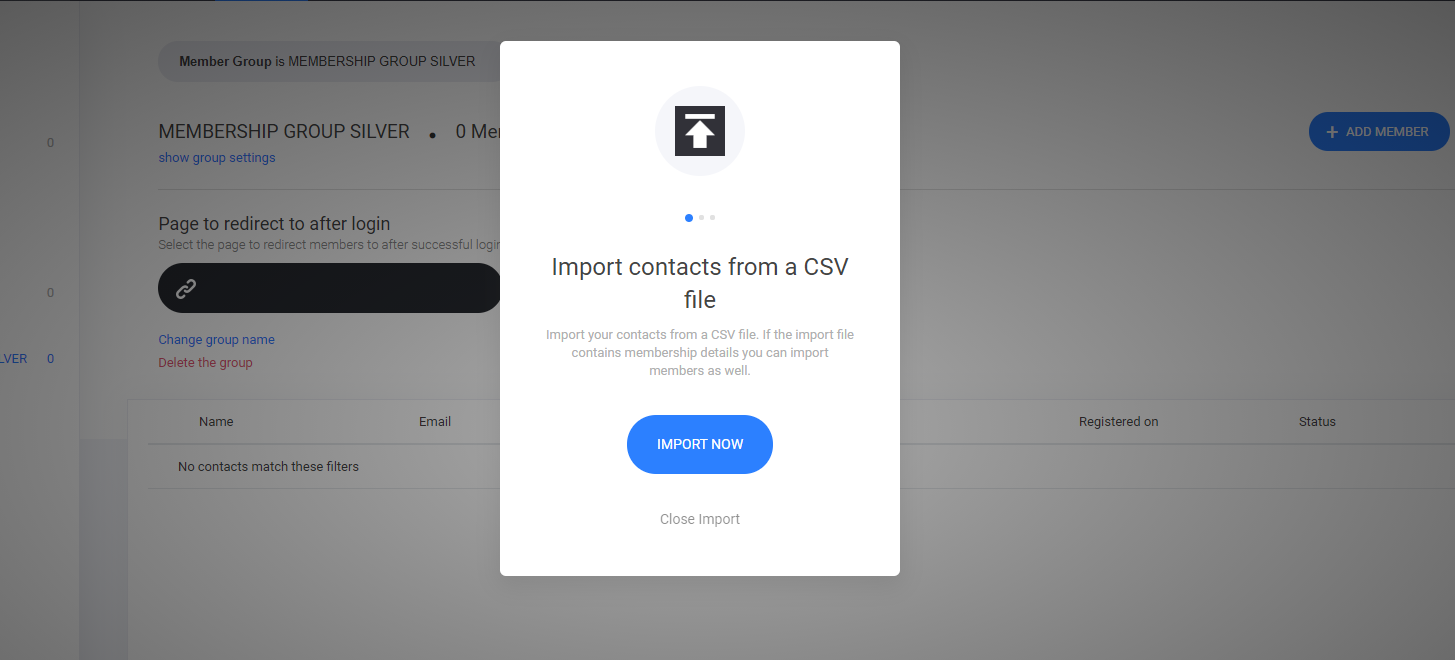
You will then be prompted to load the .csv file. Follow the steps on screen to match your columns in the field with the fields in your CRM and complete the import.
The system will now automatically import the contacts, create the profile, add them to the membership, and create their passwords.
You will now have to send a notification to the contacts that their accounts have been created and what their passwords are.
Last updated